Braveheart: The Symphony of Swords and Spears in Medieval Warfare
Introduction: Weapons of Rebellion
Mel Gibson’s Braveheart (1995) immortalizes Scotland’s 13th-century struggle for independence through visceral depictions of medieval combat. From the schiltron spears at Stirling Bridge to the carnage of Falkirk, every weapon—sword, arrow, or dagger—serves as both a tool of war and a symbol of defiance. This article dissects the film’s arsenal, analyzing their historical roots, battlefield roles, and cinematic symbolism.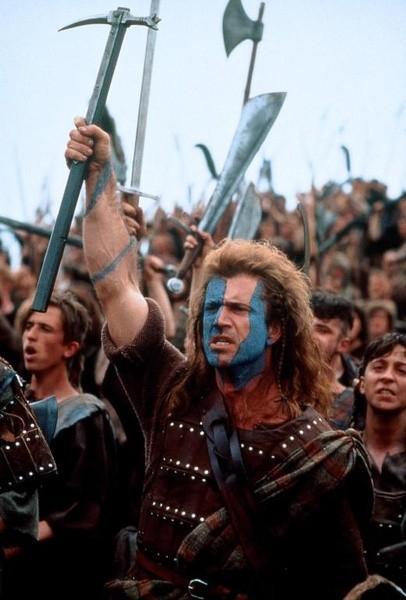
Part 1: The Scottish Arsenal
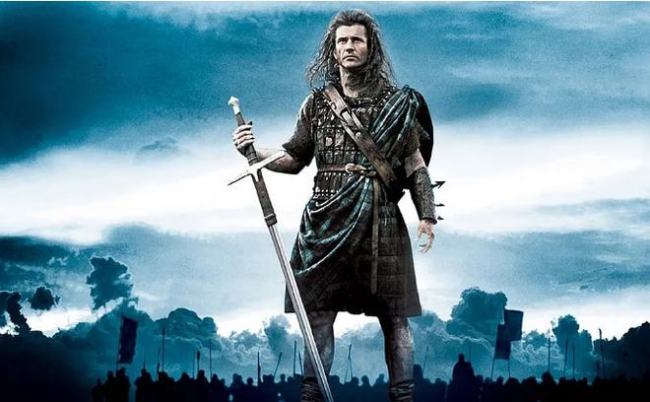
1. Wallace’s Claymore: Sword of Freedom
Design: A 1.2m double-edged broadsword with a lobed pommel, historically anachronistic but visually iconic.
Combat: At Stirling Bridge, Wallace (Gibson) cleaves through English chainmail, the blade’s slow-motion arc emphasizing brute force.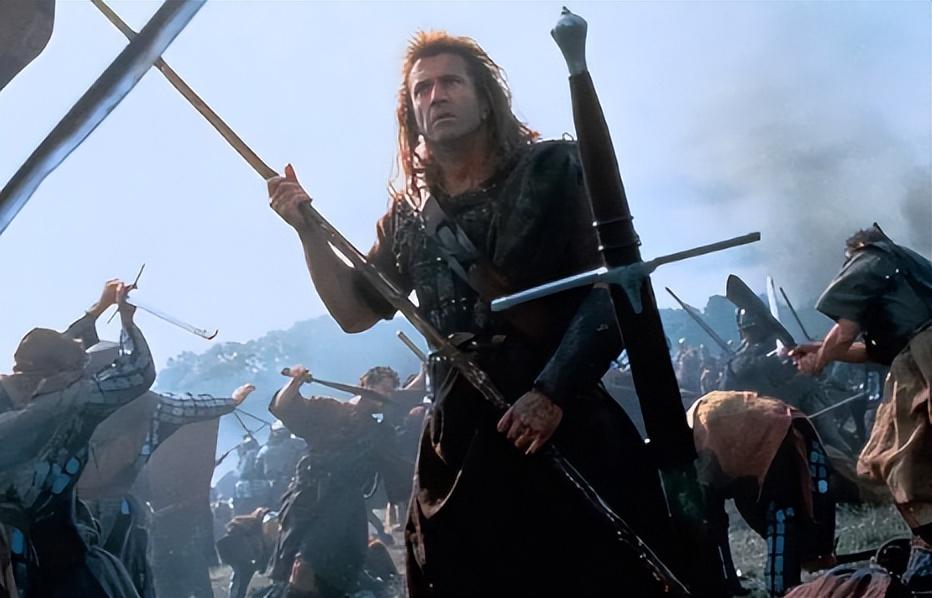
2. Peasant Weapons
Scythes & Flails: Repurposed farm tools target cavalry (horses’ legs) and bypass shields.
Tactics: At Stirling, peasants use terrain to ambush knights, dragging them into mud with hooks.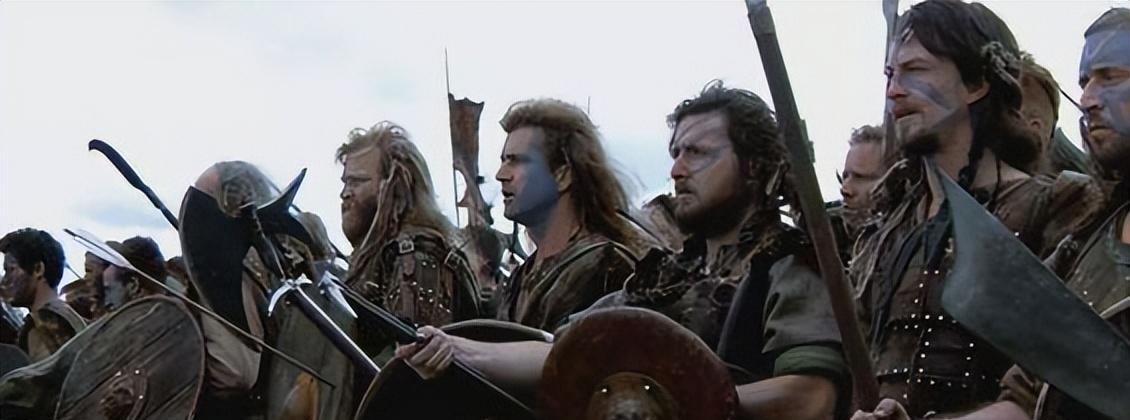
3. Schiltron Spear Wall
Specs: 4-5m spears with iron tips. The film’s dramatized swamp ambush replaces the historical bridge choke point.
Part 2: England’s Iron Tide
1. Longbow: Rain of Death
Stats: 150lb yew bows firing armor-piercing bodkin arrows.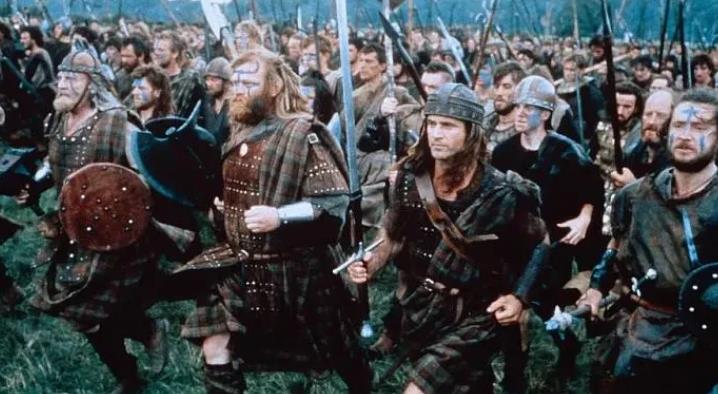
Cinematic Carnage: At Falkirk, volleys decimate Scottish ranks, arrows thudding into flesh like macabre music.
2. Heavy Cavalry Charge
Gear: Simplified chainmail and lances.
Hubris: Stirling’s knights charge into a spear-studded swamp, horses impaled in gruesome close-ups.
3. English Longswords
Brute Force: Heavier than Claymores but outmaneuvered in close quarters (e.g., Wallace’s dagger kill).
Part 3: Battles Decoded
1. Battle of Stirling Bridge
Phases:
Spear Wall: Angles spears to skewer charging horses.
Close Combat: Flails crush dismounted knights.
Wallace’s Strike: Beheads the English commander, a morale-breaking spectacle.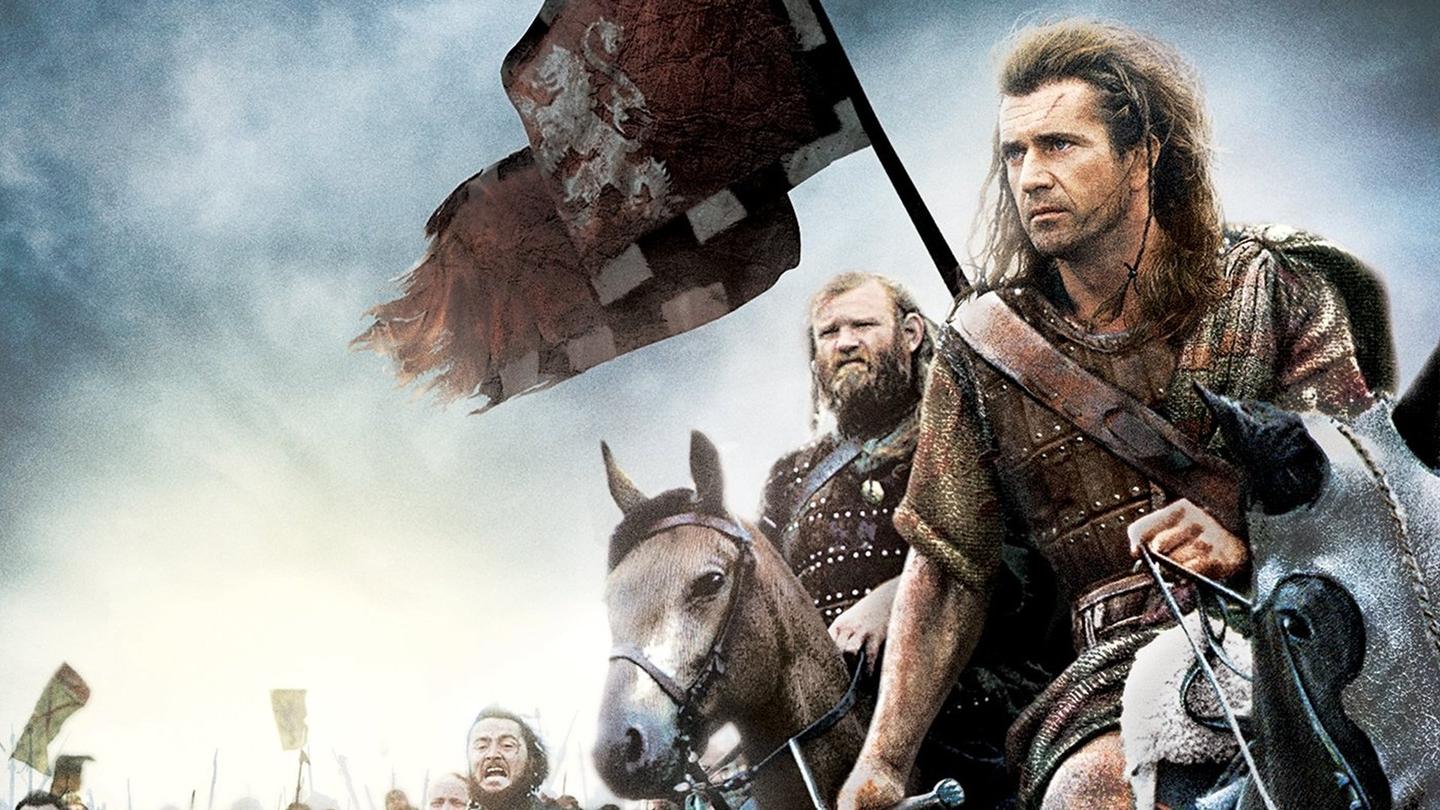
2. Battle of Falkirk
Treachery: Robert the Bruce’s betrayal exposes the schiltron to arrows.
Slaughter: Longbow volleys soften ranks; cavalry mop up survivors.
3. Final Duel: Dagger vs. Chainmail
Symbolism: Wallace’s hidden dagger stabs through armor gaps—a metaphor for Scottish resilience.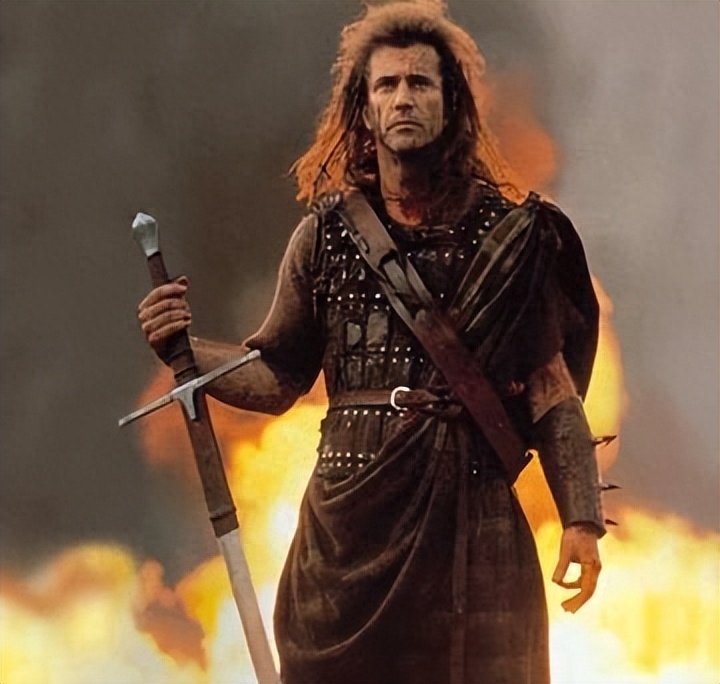
Part 4: History vs. Hollywood
Anachronisms: Longbows dominate decades early; Scots lack historical padded armor.
Aesthetic Violence: Slow-motion blood sprays and clashing metal scored by bagpipes elevate brutality to art.
Conclusion: Legacy in Steel
Braveheart transforms medieval warfare into a mythic struggle. When Wallace’s sword falls, his cry—“They may take our lives, but they’ll never take our freedom!”—etches defiance into eternity.
SEO Strategy
Title (Under 300 Characters)
"Braveheart Weapons Deep Dive: How Wallace’s Claymore, Schiltrons, and Longbows Shaped Medieval Warfare | Film & History Analysis"
Meta Description (Under 500 Characters)
Unsheath the secrets of Braveheart’s medieval arsenal! Explore William Wallace’s Claymore, Scottish schiltron tactics, and England’s longbow dominance. This guide breaks down Stirling Bridge’s spear ambush, Falkirk’s arrow storms, and historical inaccuracies. Perfect for history buffs, film students, and weapon enthusiasts.